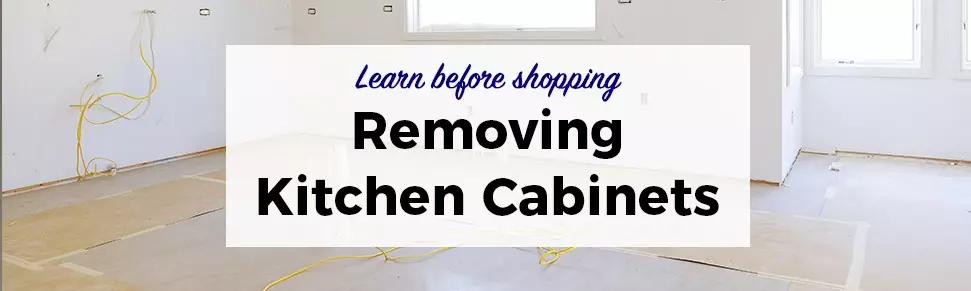
Renovating means taking something old and replacing it with something new. It can be giving your kitchen a fresh coat of paint or installing a fresh set of cabinets. Learn how to get started with a cabinet renovation project by removing your cabinets.
How to Remove Kitchen Cabinets
Large projects like home renovations can be very stressful to deal with. Removing your cabinets from the walls is not one of those projects. It’s a simple process that can be achieved with even just one person if you’re crafty. As tempting as it can be to just take a sledgehammer to some projects, it’s always better to salvage what you can from your kitchen. Old cabinets can easily be salvaged and repurposed, donated, or even sold! Read on to learn all about how to remove kitchen cabinets.
In this post, you will learn:
- How to remove wall cabinets
- How to remove base cabinets
- How to remove countertops
- What to do with old cabinets
 1.
1.
Decide Where to Start
When removing your cabinets, you can choose one of two options, remove your wall cabinets first, or your base cabinets first. Each comes with its own pros and cons, so weigh them for yourself and decide what works best for you. Removing base cabinets first will give you room to get a ladder closer to the back wall, which might make removing your wall cabinets easier in some cases. On the other hand, removing your wall cabinets first may be easier when you have your base cabinets to stand on or rest the cabinets on once they are loose. This option may be better suited when there are at least two people available to remove the cabinets. If you’re on the fence about which option to choose, try both and see which way works best.
 2.
2.
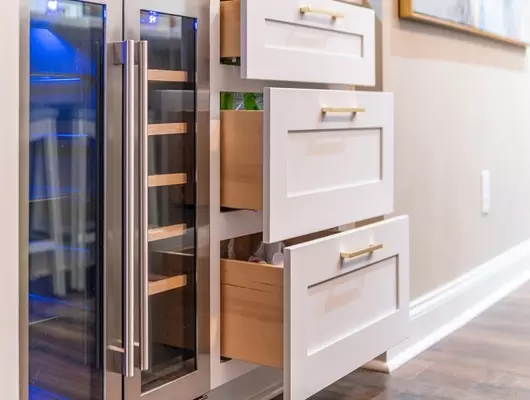
Removing Wall Cabinets
Removing wall cabinets and base cabinets are pretty similar for the most part. Cabinets are secured to each other and the wall using screws. The kind of screws and their position may vary depending on what the wall behind your cabinets is made of. Framed walls will have screws on the studs to give the cabinet something solid to anchor to, while concrete walls will not have studs. Screws in concrete walls may be a bit more arbitrary and require some searching.
To remove your wall cabinets, start by removing your cabinet doors followed by the screws that join the neighboring cabinets. Be sure to check both adjacent cabinets for screws, as your targeted cabinets will likely be joined on both sides. Once the conjoining screws are removed, remove the top screws. These may be on the inside or the outside of your cabinets depending on how tall your ceilings are. It is a good idea to have a friend hold the cabinet in place so that it doesn’t fall while you are unscrewing things. If you are alone, use the base cabinets to your advantage and stand on them to remove the cabinets at your own pace.
 3.
3.
Removing Countertops
The first step in removing base cabinets is removing the countertop. Depending on the kind of counter you have, you may be looking at a bit of work. Laminate or wood countertops are most likely secured to your cabinets using screws, which makes the process very simple. Just unscrew the countertop from the underside and carefully lift the countertop off, so as not to dent or break it. On the other hand, if your countertops are made from stone or hard material, they are likely secured using glue or epoxy, which will have to be heated and chipped away with a box cutter or putty knife. Heat the adhesive with a heat gun or blow torch (carefully) at the joints. Once it is hot, scrape away as much material as possible and repeat until you have loosened up the joint. Once you feel comfortable with your progress, use shims and a hammer to carefully pry the two pieces apart. Take your time here so that you don’t crack the stone.
 4.
4.
Removing Base Cabinets
Now that your countertops are out of the way, we can begin removing the base cabinets. Start by removing the doors. This will make it easier to get into your cabinets and loosen screws and it will make your cabinets easier to move once they are free. Once that is done, start decoupling your cabinets from one another. Locate the screws that conjoin the cabinets and remove them, they are usually in the face frame or the side panels. They may be hidden behind shelf panels, so be sure to look closely. Next, remove the screws from the back panel that secure the cabinet to the wall. They will be located at each stud in your wall, many times in line with the wall cabinets above.
Your cabinets are nearly free at this point. If your cabinets featured backsplash, caulking, or were painted after installation, you may have to manually separate the cabinets in these places with a box cutter or a putty knife. Epoxy will have to be heated, just as it is for removing stone countertops. Now that all of the screws and bindings are removed, you should be able to freely move your cabinets out of place.
 5.
5.
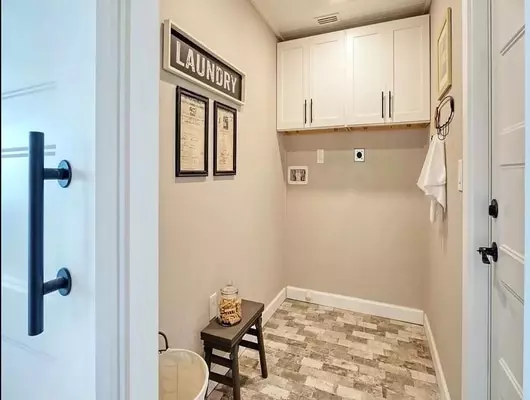
Disposing of Cabinets
Nowadays, money can be tight and we have more than enough trash in our landfills. Rather than just throwing away your cabinets, consider selling them or repurposing them. Does your laundry room need an upgrade? Fix those cabinets up and install them in your laundry room to give you space for storing detergent and folding laundry! Maybe you’re looking to make some money? List them on craigslist, Facebook Marketplace, or any other local resale website and see who is interested. Maybe you see greater potential in your old cabinets? Give them a facelift and send some pictures to a consignment store or donate them to a local carpenter for scrap. Even cabinets with partial water damage can be saved by replacing the panels that have suffered damage. One man's trash is another man's treasure, so never underestimate the value of your old cabinets.