
Short on time? Looking to save some money? Learn how to install your own cabinets and save big on both!
How to Install Kitchen Cabinets
You’re in the process of renovating your kitchen and you are wondering how much everything is going to cost you to get your kitchen looking how you want it to. A little secret about the cabinet industry is that a large portion of the price is attributed to labor. This is why RTA cabinets are generally cheaper than assembled cabinets of the same quality, especially when you buy kitchen cabinets online. Learning to assemble and install things for yourself not only improves your homeowner’s skills but also helps you stay well within your budget.
In this post, you will learn:
- How to install kitchen cabinets
- How to install base cabinets
- How to install wall cabinets
- How to prepare to install cabinets
 1.
1.
Selecting Your Cabinets
The first step in installing your cabinets is having cabinets to install. Choosing the right cabinets is easy. We suggest you choose a countertop that you like before choosing your cabinets and then match your cabinets to that countertop. Contrast works well here, so light cabinets go with dark countertops and vice versa. Think of the feel that you want your kitchen to express when you are in it. Shaker cabinets are a great choice for modern kitchens while intricate raised panel cabinets are a great choice for more traditional kitchens.
Going with RTA cabinets means that the cabinets will arrive flat packed and must be assembled after arrival, but this also means that they will be significantly cheaper than pre-assembled cabinets. You can learn more about how to build cabinets in our guide.If you don’t feel up to assembling your own cabinets, take the pre-assembled route. You’re already saving money by installing your own cabinets.
 2.
2.
Prepare Your Kitchen
The most obvious step in preparation is to remove any cabinets that are currently occupying the space for your new cabinets. If you ordered RTA cabinets, this is the time where you would want to put them together. We recommend removing the doors from your cabinets before installing them to reduce their weight and make them easier to lift or move.
Once you’ve done this, you will need to prepare your kitchen for your cabinets. Locate your studs and mark them with a pencil or chalk line so that they can be referenced later. Be sure that there are no obstructions on your walls that will prevent the cabinets from sitting square with the wall like. If there are moldings on the floor where your cabinets go, they will need to be trimmed or removed. If you plan to paint your kitchen, now is the best time to do so because you won’t have to worry about avoiding your cabinets and countertops.
In most cases, you will want to install your base cabinets below the top layer of flooring, which means some flooring may have to be cut away before you can put your cabinets in place. Measure carefully and mark accurately before making any cuts in your flooring, as mistakes here can be very hard to rectify. Lastly, if there are obstructions on your walls they must be removed if possible or planned for before purchasing or installing your cabinets.
 3.
3.
Installing Wall Cabinets
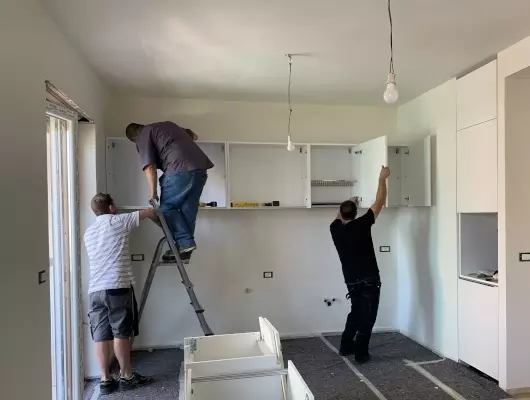
Choosing which cabinets, you install first is completely up to your choice, but most will suggest that you begin by installing wall cabinets first so that your base cabinets do not obstruct your workspace. To start things off, begin by marking out a straight and level line along the length of the wall where the bottom of your wall cabinets will be aligned. The standard heights for wall cabinets vary based on the height of the wall cabinets you choose. 30” wall cabinets are top-aligned at 84”, 36” wall cabinets are top-aligned at 90”, and 42” cabinets are top-aligned at 96”. This also means that all wall cabinets should be bottom aligned at around 54”. Bear in mind, that bridge cabinets or microwave cabinets will only be top aligned, since they are much shorter than your standard wall cabinets. You should already have your studs marked out with vertical lines by this point but if not, be sure to do so. The studs are what your cabinets will be supported by when mounting them.
To aid in installing the wall cabinets, install a support rail. This can be a simply 2x4 that is aligned with the 54” alignment mark you made earlier. The support rail can be temporarily installed using a handful of 2-inch screws and screwing them into the studs you previously marked out. Be certain that this rail is completely level before continuing with installing your cabinets. By this point, you should be completely ready to install your first wall cabinet. If you have a corner wall cabinet that has to be installed, we recommend starting here, as slight spacing errors can cause issues further down the line. Use a helper or install an additional guide rail on the adjacent wall and lift the cabinet into place. Pre-drill through the back of the cabinet or a support rail and attach the cabinet to the studs using 1-1/2” to 2” screws. Ensure that the cabinet is plumb and level before moving on. If the cabinet is not plumb, tap a shim in behind the cabinet until it is.
The rest of the wall cabinet installation should be smooth sailing from here on out. Following your designs, install the rest of the wall cabinets so that they are in line with the corner cabinet, using shims where necessary. After each cabinet is installed, attach the cabinets to each other using short screws through the sides of the face frame, regularly checking for plumb and level as you go. Frameless cabinets can be conjoined using a nut and bolt through the shelf peg holes.
 4.
4.
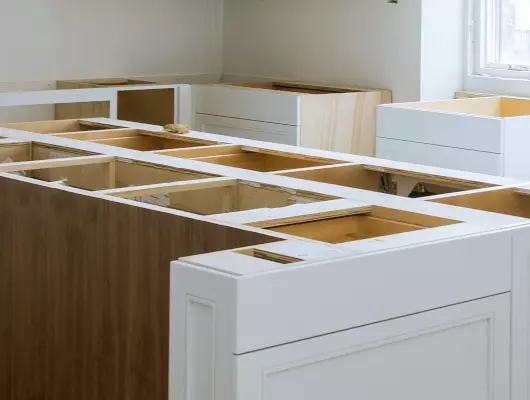
Installing Base Cabinets
Now that your wall cabinets are installed, you can remove the guide bar and begin installing your base cabinets. Much like installing your wall cabinets, we suggest you start by installing your corner cabinet first. Base cabinets will have more vertical variability than wall cabinets because they rest on your floor rather than a leveled guide bar. This means you may have to use shims under your cabinets to get them completely level.
Once the corner cabinet is in place, level, and plumb, you may begin installing the adjacent cabinets. For base cabinets, you can join the cabinets together before attaching them to the wall to ensure that they line up properly. Simply attach them through the face frame or the shelf holes just as you did the wall cabinets. The same goes for securing your cabinets to the wall. Attach your cabinets to the wall using screws and drilling into the studs behind the cabinets. The more screws you use, the stronger your cabinets will be held in place, but there is no need to go overboard here. 3-5 screws per panel should be adequate for most situations.
 5.
5.
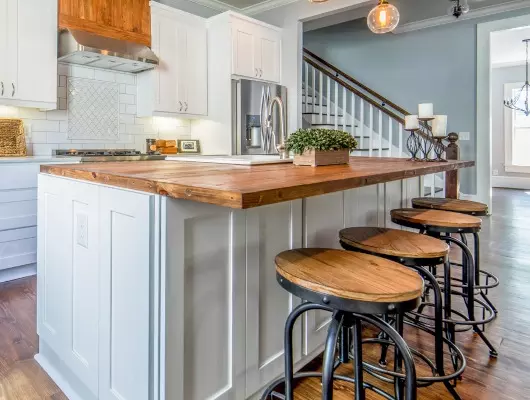
Installing Countertops
Now that your base cabinets are installed, it’s time to install your countertops. This could be considered a whole project in itself, but it really comes down to what kind of countertops you are installing. If you are installing countertops made from wood or a soft engineered material, you can simply set them into place and make sure that they fit flush and level before screwing them into the frame of the base cabinets from the underside. Countertops made from harder materials like granite, marble, or Corian will need to be secured with epoxy rather than screws. Be certain that your countertops are level and fit properly before securing them here because epoxy creates a very strong bond that is much harder to remove than screws. For greater detail, we suggest checking out this article we wrote about installing countertops.
 6.
6.
Final Touches
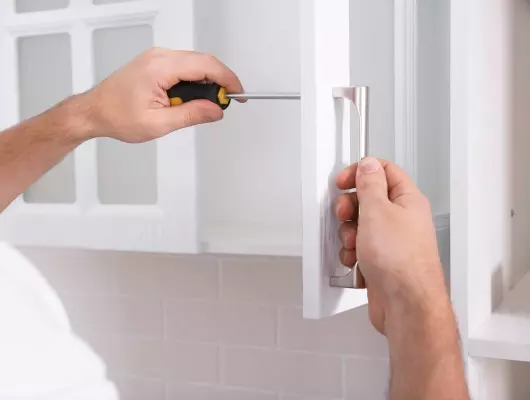
Now that all of your cabinets are attached to the walls and level, you may begin attaching the doors, drawers, and hardware. Attaching your hardware before putting on your doors may save you some hassle, especially for wall cabinets. After attaching your hardware, install the doors just as you would have if the cabinets were not yet installed. Drawers should be relatively easy to install as well but it may vary depending on what kind of drawers and glides you have. We suggest consulting the manufacturers instructions for this step, but this holds true for the entirety of the process as well.